elastomeric bridge Expansion joint Manufacturer
Unmatched in elastomeric bridge bearings, we’ve played a key role in over a thousand global projects. Trust SHUANGLIN for reliability, precision, and proven excellence!
Unmatched in elastomeric bridge bearings, we’ve played a key role in over a thousand global projects. Trust SHUANGLIN for reliability, precision, and proven excellence!
Elastomeric expansion joint is a bridge expansion device, primarily used for old bridge renovations, small bridges, or bridges with lower load capacities. It is designed using the principle of low shear modulus in rubber material, constructed as a unit with rubber, steel plates, or angle irons.
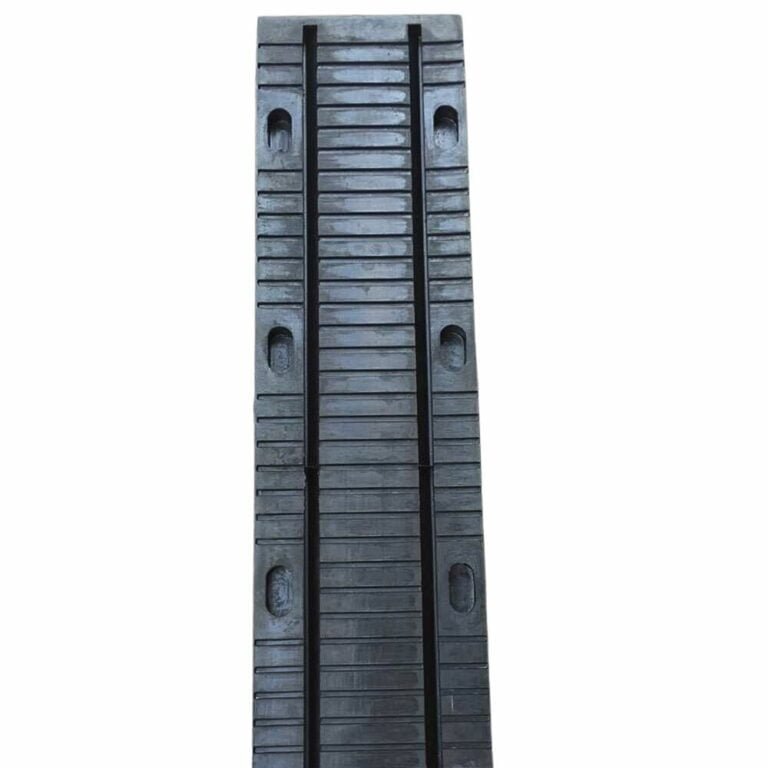
Crafted from high-grade elastomeric materials, ensuring durability and longevity.
Tailored designs to meet your project's specific load-bearing, displacement, and environmental requirements.
Engineered to withstand seismic forces, providing enhanced safety and stability to bridge structures.
Designed for straightforward installation, minimizing downtime during construction or maintenance projects.
Engineered to handle varying vertical loads, ensuring optimal performance under different conditions.
Tailored to accommodate displacements and rotations, maintaining structural integrity over time.
| PROPERTIES | REQUIREMENTS | TEST METHOD |
|---|---|---|
| Elastomer Properties | ||
| Hardness | 60±5, Shore A | ASTM D2240 |
| Tensile Strength | ≥13MPa | ASTM D412 |
| Elongation at break | ≥300% | ASTM D412 |
| Adhesion Strength | ≥7N/mm | ASTM D429 |
| Ozone Resistance | No crack after 72 hours at 40℃ exposure to 25PPHM in air sample under 20% strain | ASTM 1149 |
| Compression Set | ≤30% after 22hours at 70℃ | ASTM D395 Method B |
| Steel Properties | ||
| Reinforce Steel plate | ASTM A36, BSEN S275JR, JIS SS400, CHINA Q235, or equivalent | |
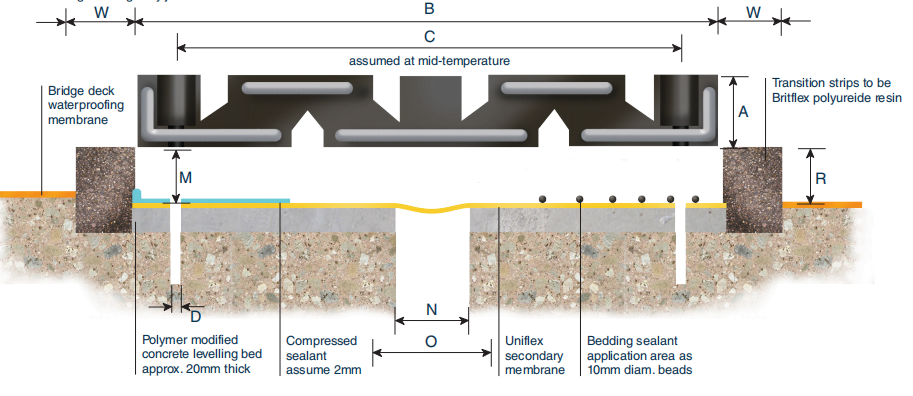
| Model | Movement | Length | Module width B | Module depth A | Stud diameter D | Unit weight | Max stud height above shelf M | Max joint width at mid-deck temp N |
|---|---|---|---|---|---|---|---|---|
| SL-40 | 38mm | 1000mm | 230mm | 35mm | 12mm | 30kg | 32mm | 35mm |
| SL-50 | 50mm | 1000mm | 270mm | 42mm | 12mm | 48kg | 32mm | 51mm |
| SL-60 | 65mm | 1000mm | 356mm | 50mm | 16mm | 68kg | 40mm | 67mm |
| SL-70 | 76mm | 1000mm | 400mm | 40mm | 20mm | 88kg | 42mm | 83mm |
| SL-100 | 102mm | 1000mm | 550mm | 54mm | 20mm | 150kg | 42mm | 102mm |
| SL-160 | 165mm | 1000mm | 700mm | 80mm | 24mm | 272kg | 50mm | 121mm |
| SL-230 | 230mm | 1000mm | 890mm | 95mm | 24mm | 375kg | 60mm | 158mm |
| SL-330 | 330mm | 1000mm | 1204mm | 127mm | 30mm | 451kg | 70mm | 216mm |
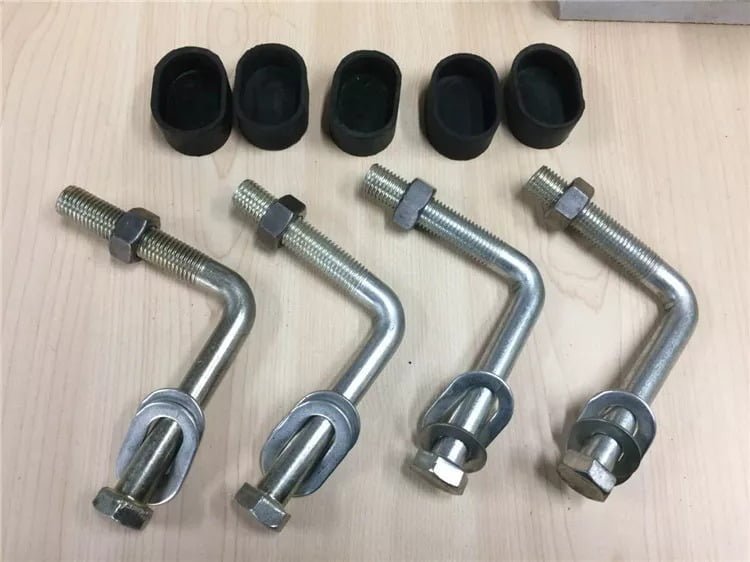
Accessories include:
Anchor Bolts: Secure the expansion joint in place.
Cover Plates: Protect the bolts holes
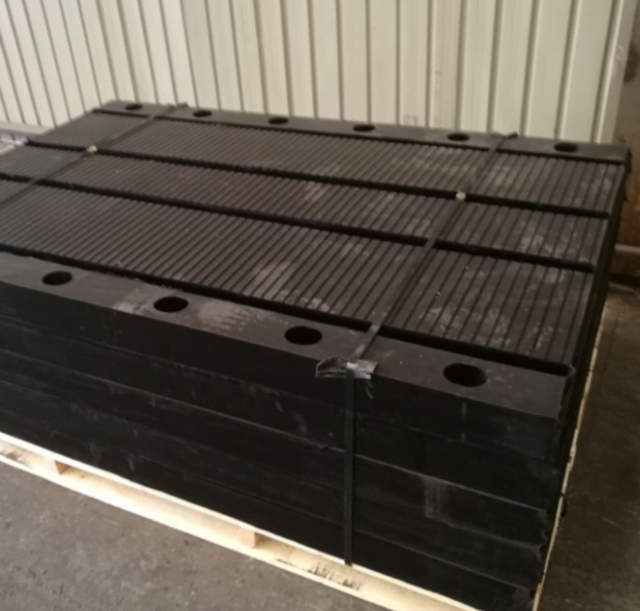
Package: Pallets, wood box or customized
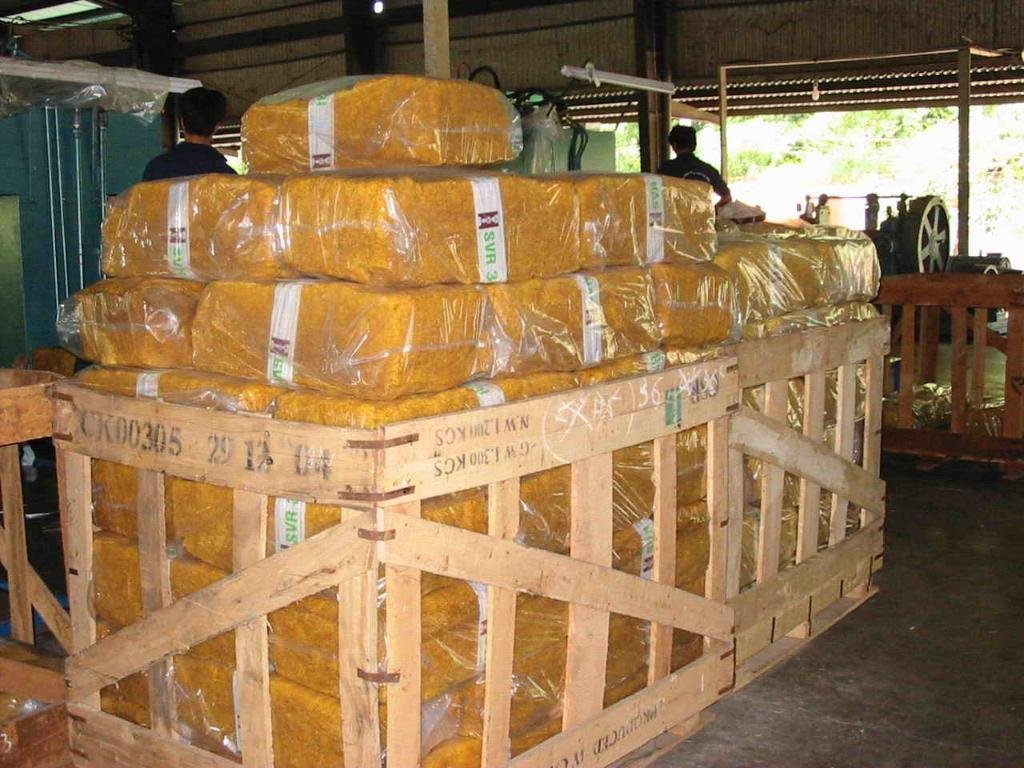
We start by choosing high-quality elastomeric materials known for durability and flexibility.
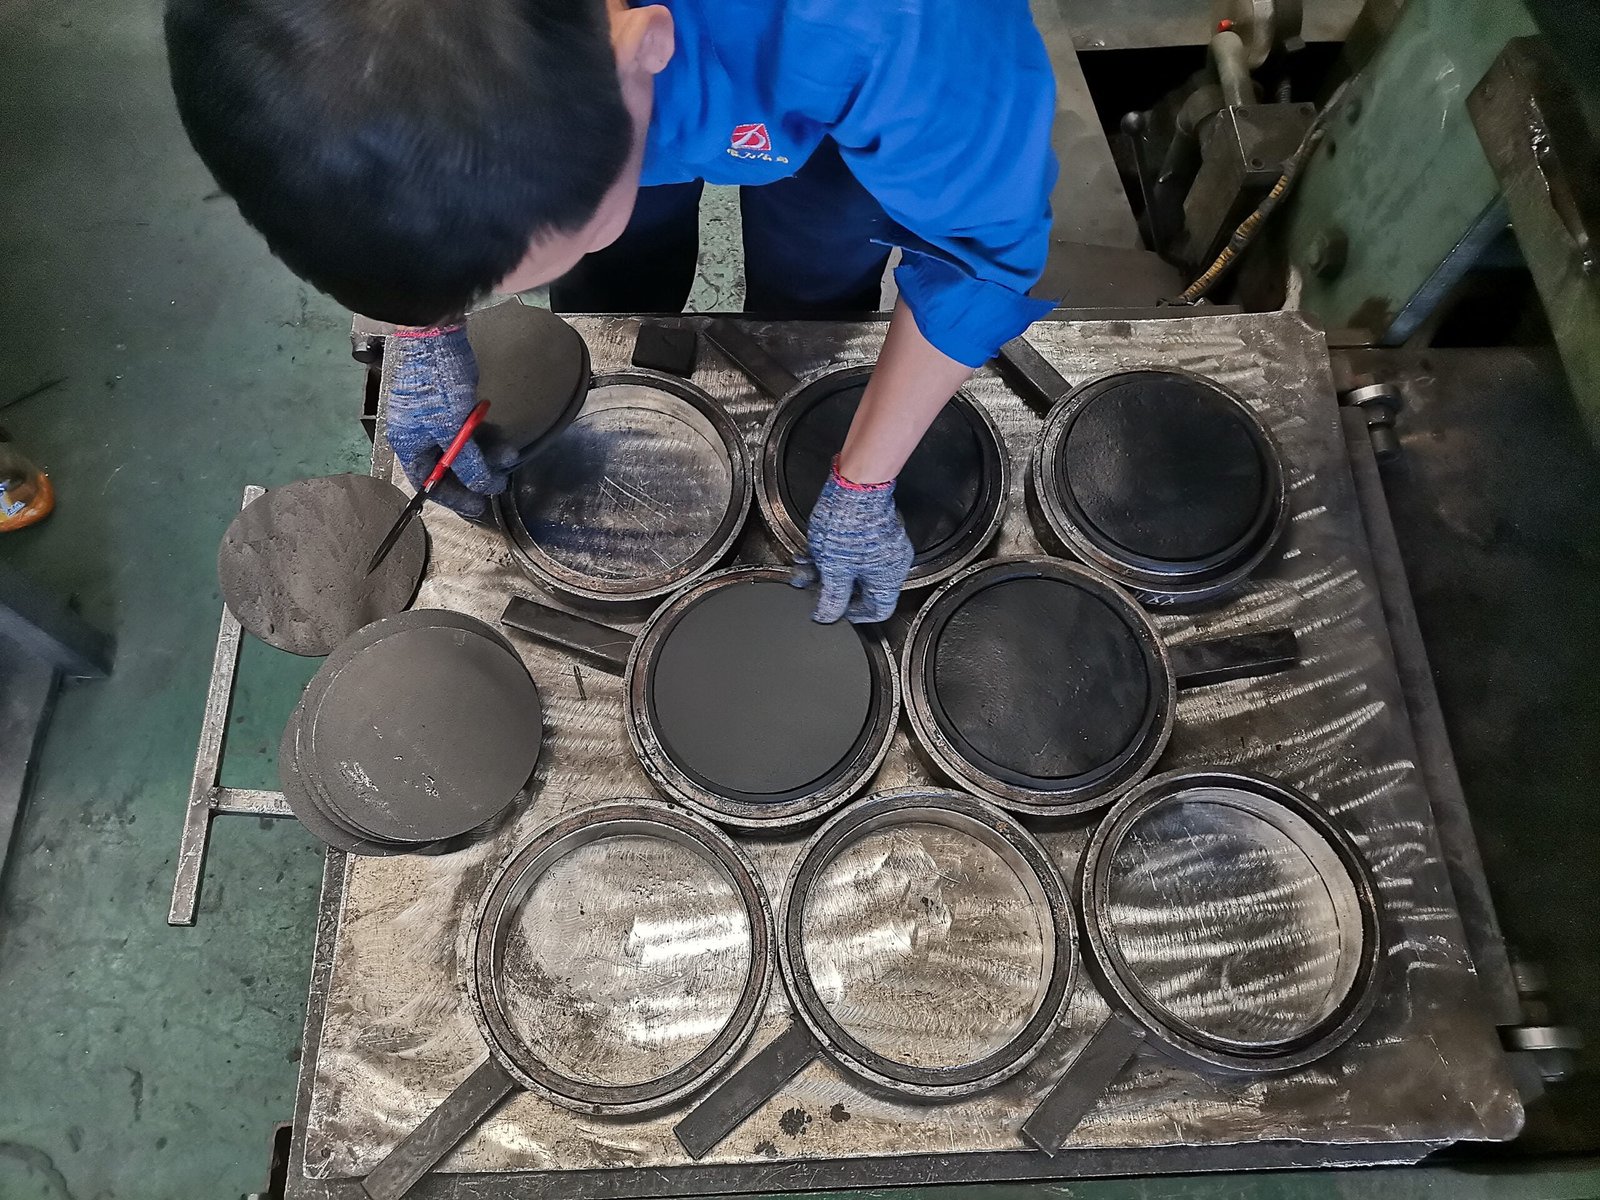
Using advanced techniques, we mold the materials with precision, ensuring each joint meets exact specifications.
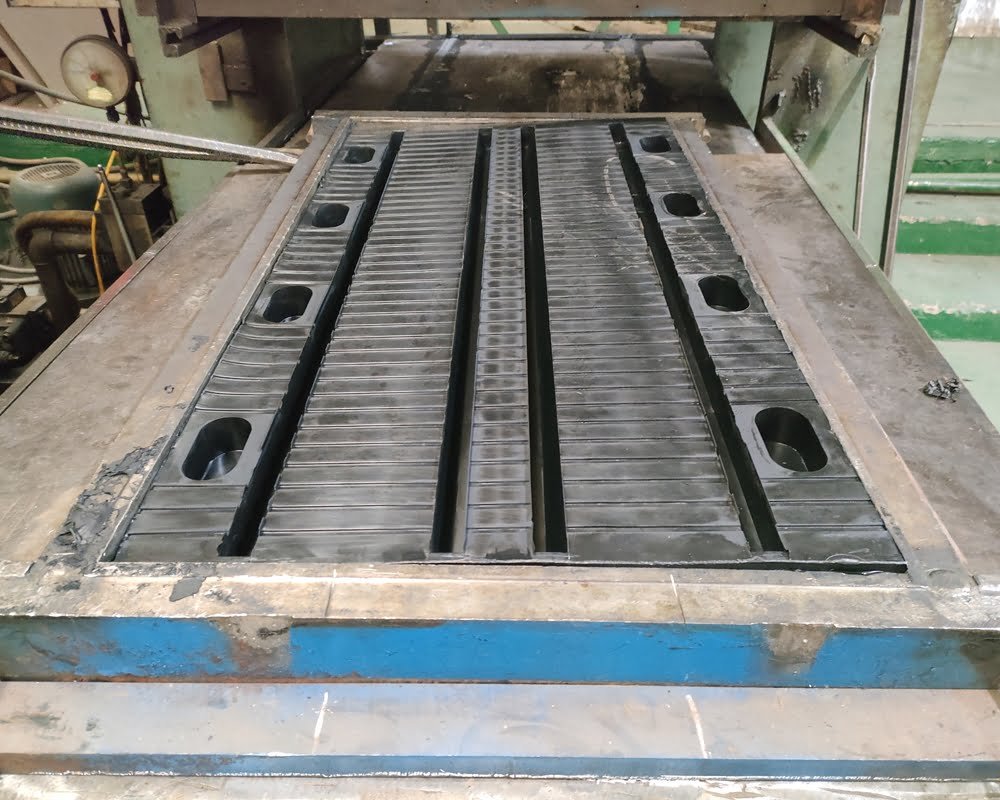
Precise Calculation of Vulcanization Time and Skilled Worker Operations to Ensure Performance and Perfect Appearance.
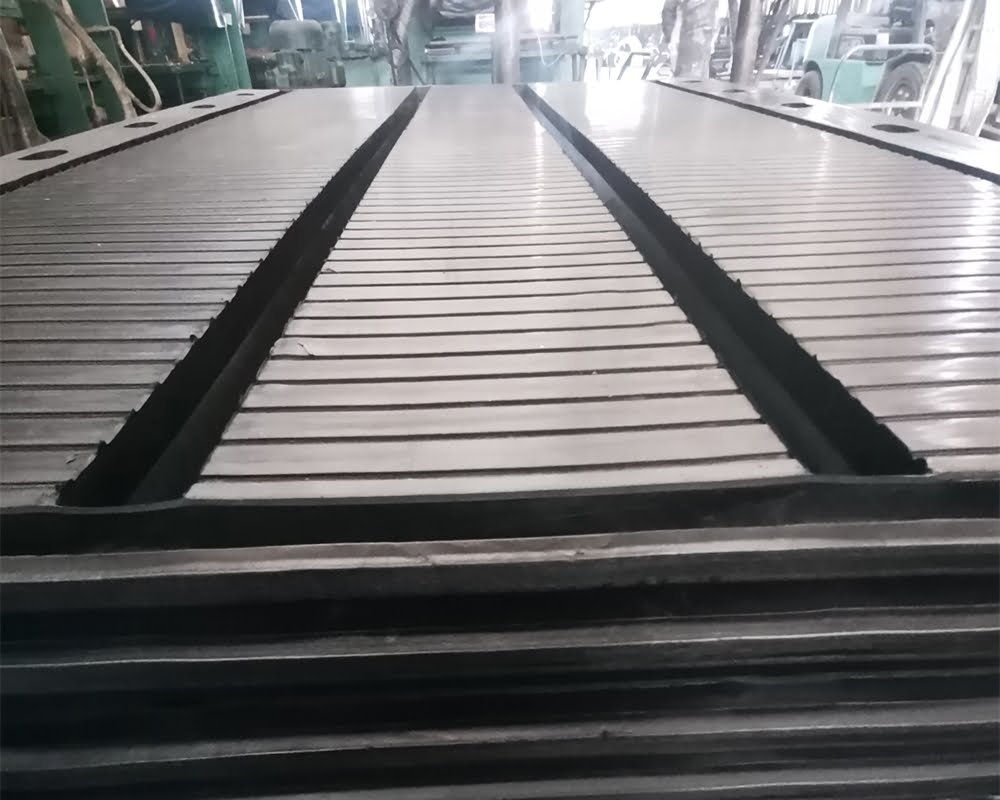
Adhering to ASTM standards, a dedicated team conducts thorough inspections to ensure each elastomeric bridge expansion joint meets or exceeds industry regulations.
Adapting sizes and providing accessories like bolts to meet specific needs, we ensure seamless integration into different bridge designs, addressing unique project demands.
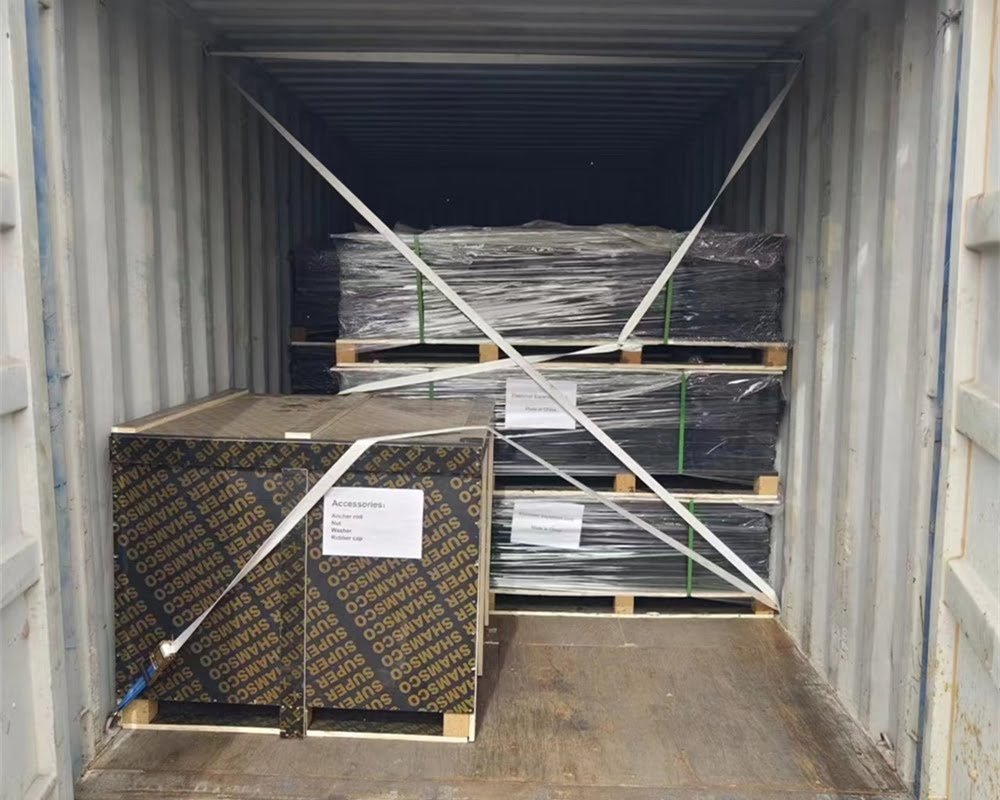
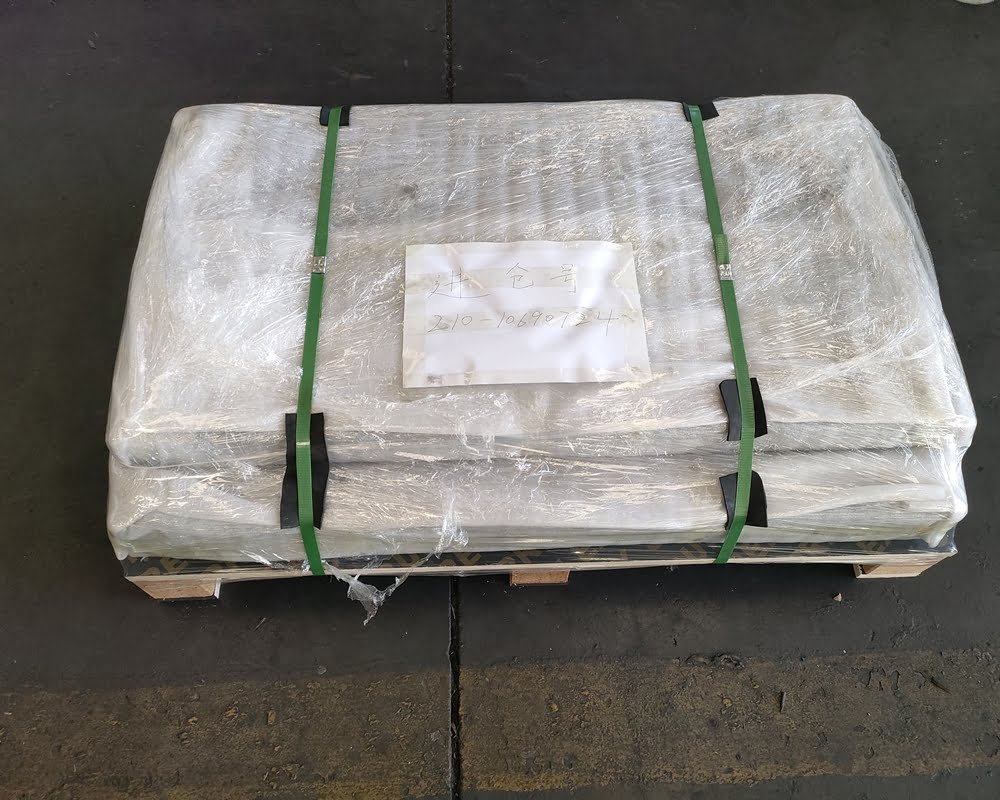
Pproducts undergo careful packaging to prevent any damage during transportation. We take pride in our efficient logistics to ensure timely delivery to our customers worldwide.
Step 1: Bridge Surface Preparation
Thoroughly clean and repair the bridge surface, ensuring a stable foundation for the expansion joint.
Step 2: Accurate Joint Positioning
Precisely place the TransFlex Expansion Joint within the designated location, aligning it seamlessly with the gaps in the bridge deck.
Step 3: Secure Ends and Align
Attach end blocks securely at each end, providing stability and ensuring proper alignment critical for optimal functionality.
Step 4: Anchor Bolts Installation
Fasten anchoring bolts securely to anchor the expansion joint firmly to the bridge structure, withstanding dynamic forces.
Step 5: Sealant Application
Apply a high-quality sealant to bridge any potential gaps, enhancing the joint’s resistance to water and debris infiltration.
Step 6: Cover Plates Installation
Install cover plates for aesthetics and protection, enhancing the bridge’s appearance and shielding the joint from external elements.
Step 7: Final Checks and Testing
Ensure all components are securely fastened, conduct a thorough final inspection, and verify the joint’s functionality through controlled movements.